Archive for the ‘Before and After’ Category

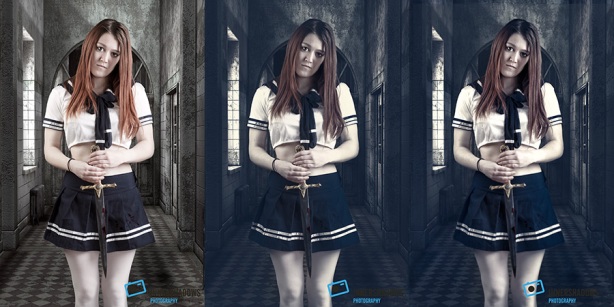
Here’s a very quick walk through on how I processed this image. Click here

The first step was to find a suitable image for the background. I found this one on Deviantart. I used the refined edge tool to cut the model out and placed her onto the new background.

cosplay1

Then I added blood to the sword and her dress, added some shadows matched the colours and finally sharpen parts of the image.

cosplay2

Hope you enjoyed the quick walkthrough.

Don’t forget to like my Fanpage.  Portfolio |  Facebook 


Here’s a quick before and after from a recent shoot. Adam was cut out using the quick selection tool with the refine edge tool. The background was added from my collection of stock images, 2 textures both set to soft light blending mode and finally a colour LUT from CS6 was applied.

ba_Army

Portfolio |  Facebook 


Here’s a quick before and after with a brief description on how it was created. The original was taken a couple of weeks ago on a family holiday.

New sky added, Hue and Saturation to help blend in the sky, 2 textures at 100% softlight, Cross processing (color Efex Pro), CS6 Tilt & Shift and some final colour changes using Curves.

Portfolio | Flickr | Facebook 

The original image was taken in natural light at our local woods which was very dark resulting in shooting at f2.8 and iso 1600. For the processing I lightened the models body, applied Nik Software Bleach Bypass, Photoshops new Iris Blur in CS6, added a texture with blending mode Linear Burn at 100% and finally applied Nik Software Tonal Contrast at 60%.

This image was inspired by Stephen King Dark Tower novels which I am currently on book 5.

Copied and duplicated the church spires
1 texture set to overlay
Topaz Lens Effects – Memories
Topaz Adjudt 5 – Portrait Drama

Portfolio | Flickr | Facebook